How To Put On A Wig?
How to Put on a Wig - Step by Step Beginner's Guide
Wearing a wig is a great way to experiment with different haircuts, styles, and colors without damaging your natural hair. But, putting on a wig as a beginner can be intimidating. This is your ultimate guide to learning how to put on a wig as a beginner, with simple step-by-step instructions. After reading this guide, you’ll have all the information you need to wear a wig with confidence.
Choose the Best Wig for You
No matter how well you can prep and apply a wig, if the wig is not a good fit for you, you won’t get the result you desire. So, the first step is to choose the best wig for you. There are several things to consider when selecting a wig, and we’ll tell you about them in this section.
Wig Style
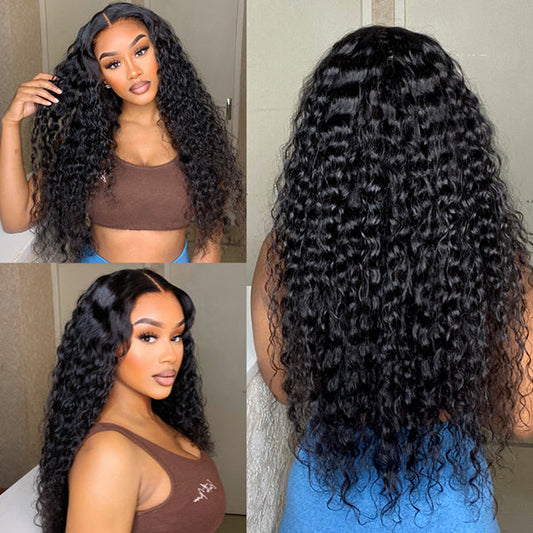
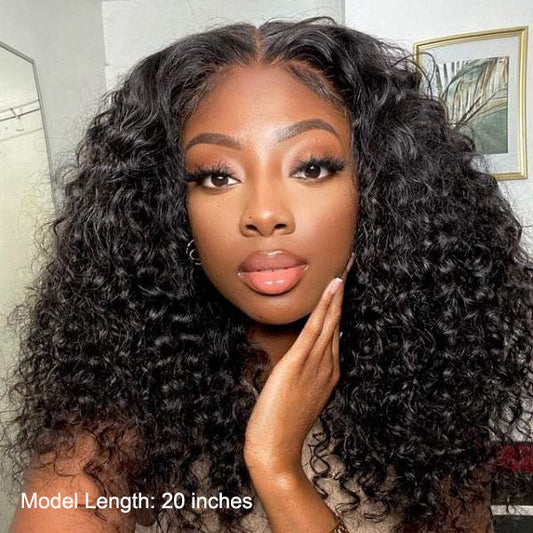
First, you must determine your preferred style, including the hair texture, length, and cut. With so many wig styles available, from short and curly to long and straight, or anything in between, you won’t have any trouble finding a wig that matches your personal style, face shape, and budget.
Hair Quality
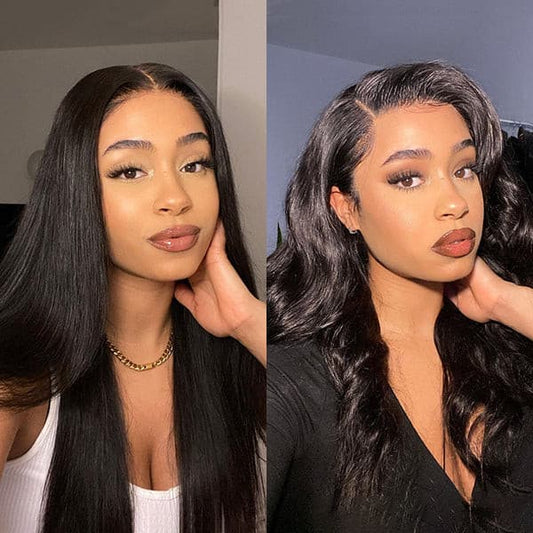
Next, you need to decide whether you want a wig made of artificial hair or real hair. Synthetic hair wigs cost much less than real hair wigs because synthetic hair doesn't last as long or look as natural as real hair. Human hair wigs, on the other hand, are durable and look very natural—just like the hair growing from your scalp. In addition, synthetic hair has many more styles than real hair, basically all kinds of colors and hairstyles are available, and the price is much cheaper than real hair. For example, straight hair and wave texture are basically the same as real hair. In fact, they are also Might be a nice try for you to wear a wig.
Cap Construction
Another important thing to consider when choosing a wig is its cap design. The cap design, to a to a great extent, determine how you put on a wig. There are three types of wig caps on the market.
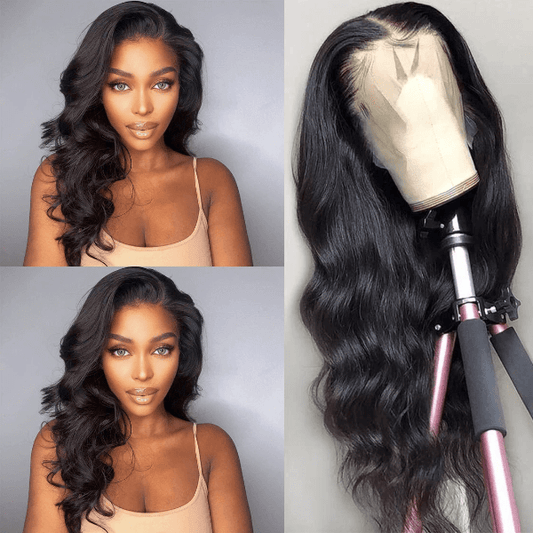
Lace Front Wigs

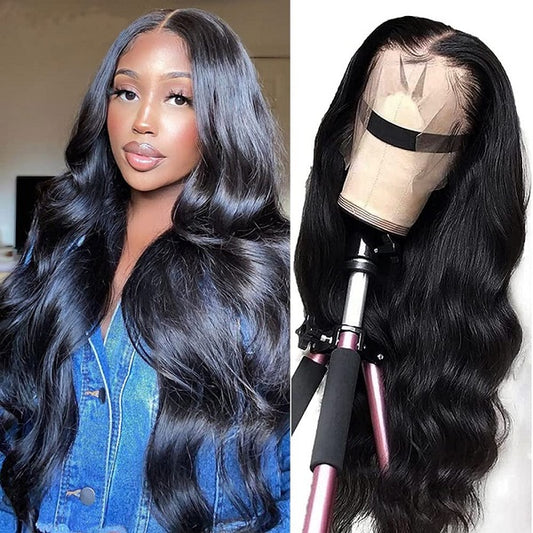
Lace-front wigs are likely the best option for beginners who are new to wearing a wig because they look the most natural with the least effort. This type of wig contains a sheer lace front that gives the appearance of a natural hairline. It is also the ideal option for individuals experiencing hair loss along their front hairline.
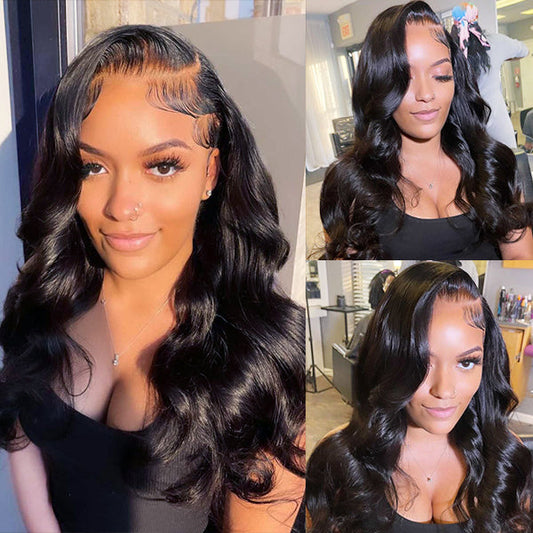
Full Lace Wigs
As the name suggests, full lace wigs have a cap made entirely of lace. Some individuals prefer this type of wig because you can part it absolutely anywhere. This means you can do high and low ponytails, side braids, pig tails, or any other style you desire. You can treat a full lace wig like it’s your own head of hair.
360 Lace Wigs
360 lace wigs are similar to lace front wigs, except the lace continues around the entire perimeter of the wig. This gives you a natural hairline at the front and back of your wig.
With a 360 lace wig, you can part your hair wherever the lace is, which makes this cap type perfect for high ponytails, low ponytails, and even a side braid.
Products and Tools You Need
- Wig cap that matches your skin tone
- Wig glue, such as Gorilla Snot or Got2B
- Hair gel
- Makeup powder that matches your skin tone
- Rattail comb
- Wide-tooth comb
- Curling wand or hair straightener
- Bleach powder
- Developer
You can find all of these supplies at online shops, large department stores, or your local beauty supply store.
Bleach the Knots
Bleaching the knots of your wigs means bleaching the places where the hair is sewn into the wig. You may want to bleach the knots on a wig because when these knots are visible, it can make the wig look less natural. Some wigs have double knots, which are more visible, less natural-looking, and more difficult to bleach. The most natural-looking wigs have single knots and will be the easiest to bleach.
Bleaching the knots is optional, as some high-quality wigs come with pre-bleached knots.
To bleach the knots on your wig, mix the bleach powder and developer per the package instructions and apply it to knots on the inside of the wig. Allow the bleach to sit for about 15-20 minutes and repeat if needed. If the knots look brassy orange, you can apply purple shampoo to the lace afterward.
Prepare Your Hair by Making it Flat
Once your wig has been prepped, it’s time to prepare your natural hair to be put under a wig. Your hair should be as smooth and flat as possible underneath the wig so that your wig will lay flat on your head and appear natural.
If your hair is short, part it in the middle or on the side (depending on where your wig will be parted) and comb or brush your hair backward.
For long hair, you can do one of two things: part several sections from front to back, do several small cornrows, and then pin the ends flat against your head with bobby pins.
Alternatively, you can comb your hair around the perimeter of your head so that it is flat and then use bobby pins to keep your hair in place.
Put on Your Wig Cap
Putting on a wig cap is an optional step for some wig constructions, but wig caps are highly recommended as they will provide structure and a good foundation for your wig to sit on. They also to keep the wig on your head all day.
However, some individuals find that wig caps feel too tight on their head and even cause headaches. If you experience this, it may be better to go without a wig cap.
Wig caps are available in nylon or mesh materials. Mesh is a cooler and more comfortable option.
Once your hair and been flattened and pinned down, then put a wig cap over your hair to further secure it in place. To do this, stretch the wig cap over your hair, and tuck in any stray hairs. Then, cut the wig cap down to just in front of your natural hairline. You can apply some gel or hair glue to secure the wig cap.
Matching the Wig Cap to Your Skin Tone
If the color of your wig cap doesn’t match your skin tone, you can remedy this by applying powder or concealer to the wig cap. Be sure that the makeup matches the color of your skin.
Apply the makeup to your wig cap in the spot where you plan to part your wig.
Apply Your Wig to Your Head
Once your wig and hair are ready, it’s time to put on your wig!
- Bring the front of your wig to your hairline and pull the rest of the wig over the back of your head.
- Adjust the ear tabs and ensure that they lie flat against your head to hide your hair and hairline underneath the wig.
- If the wig seems too tight or too loose, adjust the straps to give your wig a snug and secure fit. Be careful not to make the wig too tight, as this will become uncomfortable after a while and even cause a headache.
Create Your Part
Your wig may come pre-parted, but it may not be natural or fit your preferred hairstyle. To change your part, you should first determine where you want to move the part. The location you choose will depend on the cut and style of the wig and where you usually wear your part. Choose a middle part, side part, or off-center part.
When a wig already comes with a part, a new part will not easily stay in place. There are several options for moving the part:
Option 1: Part the hair, and then gently smooth either side down with a curling wand or the outside of a flat iron to help it stay in place.
Option 2: Part the hair, pin the two sides down with an alligator clip, and spritz the hair with a small amount of water. If needed, apply a small amount of product such as mousse or gel to help the hair stay in place. Remove the clips when the hair is dry.
Glue Down/Secure Your Wig
To help your wig stay securely in place and to create a more natural hairline, you can use wig glue. Apply a small amount of wig glue to your natural hairline underneath the wig and also to the hairline of the wig. You can also use products such as wig tape or wig clips for more security.
Cut the Lace
If it is your first time wearing your wig, you will need to cut away all of the extra lace. Don’t forget to cut off the ear tabs on each side of the wig.
You can use your regular everyday scissors or nail scissors for more precision – don’t use dull scissors, as they can damage the lace. Take your time throughout the process to ensure that you don’t cut off too much lace.
Check out this article for detailed instructions on how to cut the lace on your wig.
Melt Down the Lace
If the lace along the hairline of your wig is not natural-looking, then you can melt the lace along the hairline of your wig. To do this, apply a product such as hair glue or gel to the hairline and then blow dry it. This will get the lace to lay flat and blend in with your skin.
If you want an effortlessly natural look without too many extra steps, check out our 13x6 new clear lace wig for a beautiful, natural-looking result.
Clean Up Your Wig
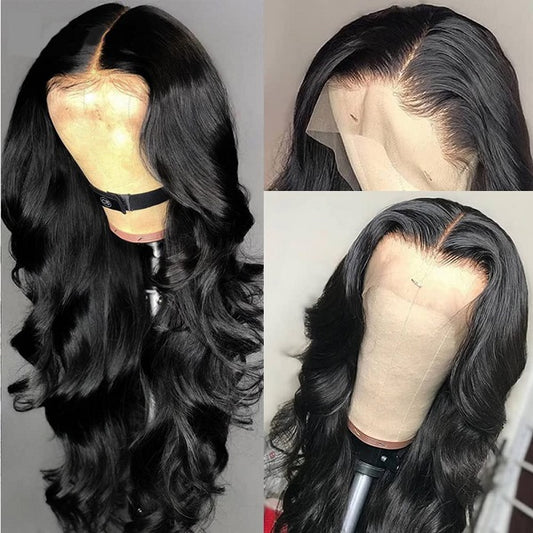
If you did not do this earlier, pluck the hairline to remove any obvious knots and make it look more natural. Some wigs come with a natural-looking hairline while others don’t. If yours comes too close to your eyebrows or has an odd shape, pluck the wig as needed. Our Clean Hairline wigs come with a soft, natural hairline that won’t need any plucking.
Add Powder to Make Your Wig Look Natural
To make your wig look even more natural, you can add more powder along your hairline and part. Doing so will make your wig hairline even more undetectable.
Style the Wig
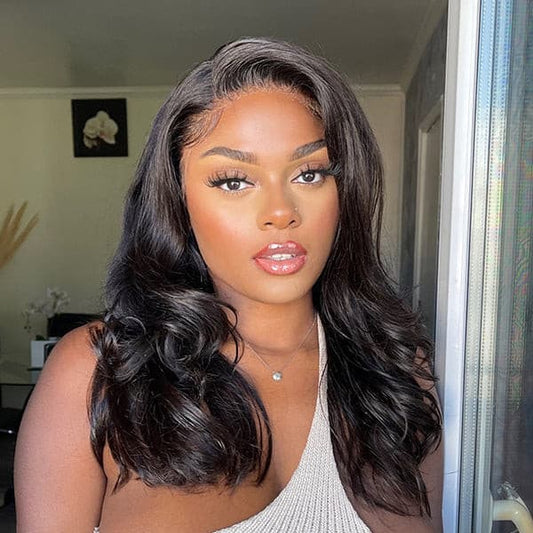
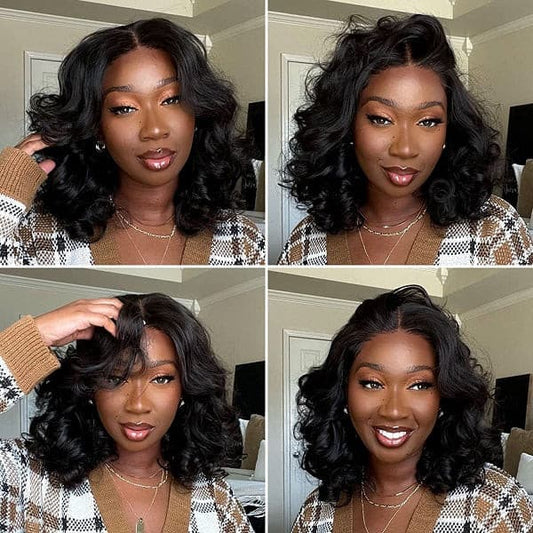
The most fun part about wigs is the ability to try out different hairstyles, so be sure to experiment with styling your wig in various ways and changing up the part to discover styles that you’ll love!
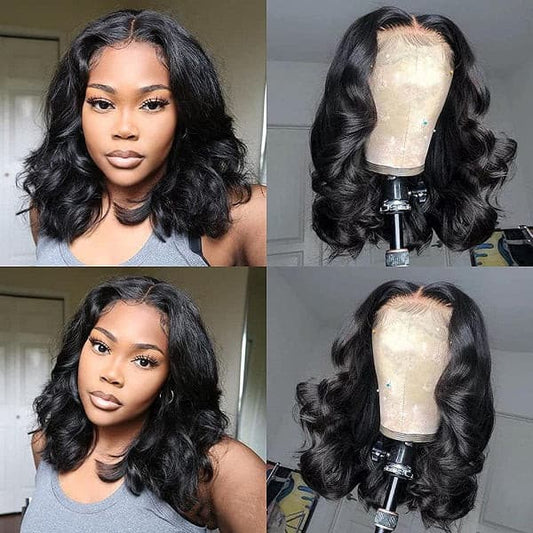
If you want ultimate styling versatility, choose a high-quality virgin hair wig that will look natural no matter how you decide to style it.
Conclusion
There you have it - a complete guide with all the tips and tricks for how to put on and wear a wig! If you’re a beginner, remember to have patience and take your time to properly prepare and apply your wig, as this will help you avoid wig damage and create the most natural look possible.
Wigs are a fun and versatile styling option to define your look, so we encourage you to take advantage of this opportunity to experiment and express your individuality with a hot new look. Enjoy!
Need Help?
If you have an issue or question that requires immediate assistance, you can click the button below to chat live with a Customer Service representative.
If we aren’t available, drop us an email and we will get back to you within 20-36 hours!
About Hair Length
Q: How to Measure Hair Length?
A: You can use a wig head to measure the wig length. If you do not have a wig head, you can simply place the unit on a flat table to measure the hair length.
1.Place the wig on a wig head or lay it flat on the table. If you have a curly or wavy wig, straighten the hair gently as much as possible.
2. Use a soft measuring tape to measure the longest hair strand on the unit. Make sure you measure it from the crown of the hair till the end of the hair strand.
About Order
Q: How can I track my order?
A: Click Track Your Order to view the status of your order. Track your shipment by using the tracking number provided to you once your item(s) have been shipped. You cannot track your order before it has been shipped.
If you don’t know what your tracking number is or if you’re having difficulty tracking your package, feel free to contact our customer service department for assistance.
Q: How long will it take to receive my order?
A: Ground shipment typically will be delivered within 3-5 business days depending on where you’re located.
Q: How can I cancel my order?
A: If you decide to cancel your order you can contact our customer service department and they will assist you with the cancellation process.
Q: Why was my item/order cancelled?
A: Item(s) becomes unavailable after your order was placed Difficulty in processing your payment information Inability to ship to the address provided If you have questions or would like to place a new order please contact us
Q: How do I place an order?
Step 1. Search or find the product you like according to the category page;
Step 2. Select the product specifications and click on "Buy Now" or "Add To Cart ;
Step 3. Fill in the address information and select the shipping method and payment method, and then click the "Place Order" button.
Step 4. Go to the payment platform to complete the payment.
About Refund
Q: How to refund via quadpay
Please contact Nadula customer service directly to initiate any refunds.
Quadpay will be automatically notified of your refund once initiated by Nadula.
Total Refunds
In the case of a total refund, as soon as Quadpay is notified of the return, you are refunded the amount you've paid to date and QuadPay cancels all future payments.
Remember, if you have only made one installment payment, Quadpay can only refund what you have paid, not the entire amount of the original purchase.
Example:
Jane makes a $200 purchase and has already paid her first $50 installment at the time of purchase. Nadula ships her item, but it is the wrong hair.
She returns the item to Nadula and is expecting a full refund. After Nadula approves the return of the item, she receives a refund of $50. She does not receive $200 because she has only made one $50 installment payment.
The remainder of her installment payments have been canceled.
Partial Refunds
If the refund is partial (for example, you’ve only returned part of an order) Quadpay will start by reducing your last installment by that amount, then if it is more than that,
Quadpay will deduct it from your last and second last installment - and so on.
Example:
You make a $100 purchase. Your four payments are $25 each. With your first payment due at the time you place your order.
1. $25 - Paid at time of purchase.
2. $25
3. $25
4. $25
Nadula refunds $50 on your purchase. The value is applied to the last of your installments, and then to the next-to-last installment, and so on, until the entire refund amount has been applied.
1. $25 - Paid at time of purchase.
2. $25
3. $25 - Covered with the refund.
4. $25 - Covered with the refund.
Your second installment remains and is still due on the due date.
If your refund is larger than the total of your unpaid future installments, Quadpay will also refund your original payment method directly. You can always see how refunds were applied to your Quadpay account, what payments are still due, and make your payments early in the Quadpay Customer Portal.
Q: When will I get my refund?
Please take it easy that the fund is guaranteed as Nadula knows how important your money is and we make sure that the refund is handled accordingly.
Usually, it takes 1-10 business days, varying with different banks, for buyers to receive the refund after the refund is successfully processed by Nadula.
When Nadula's customer service informs you that your refund has been completed, your money will usually be returned to the bank card or account you paid for.
PayPal: usually 1-5 working days
Credit card: usually 1-10 working days
Quad pay: usually 1-10 working days
You may check the order details to confirm whether the refund has been successfully processed, please feel free to contact your bank (please provide the ARN to your bank if there is) to follow up on the Refund status.
About Shipment
Q: I can't track my order using the tracking number provided. What can I do?
A: Please contact customer service to confirm the tracking number & shipping information. You can contact us through our live chat or message us by Support@IUPinHair.com.
You may also contact the shipping carrier to confirm if the order was shipped. Sometimes the carrier can take 1-2 days to update shipping information on their website.
About Hair
Q: Can I make bleach Knots ?
A: Yes, we advise you to find your stylist to help, much professionally. For the fake scalp wig and PU wig, you don't have to bleach them, both of them are very natural and knots invisible.
Q: What Does The Wig Density Mean Like:130% 150% 180%?
A: Densities for lace wigs(full and lace front wigs)can actually start from 80% of the average hair density(80,000 strands based on the mathience figures above)and usually go up to 180% of average hair density(180,00 strands based on the mathience figures above). The standard density for lace wigs(full lace wigs and lace front wigs)is between 130% and 150%(so 130,000 and 150,000 based on the mathience figures above) If the aim is to wear hair that looks natural any lace wig with a range of 130%-150% are often referred to as medium density Full lace wigs and lace front wigs with higher densities will usually cost more due to the extra labour involved to ventilate(or weft).
Q: What's the differences between Brazilian virgin hair, Peruvian virgin hair, Malaysian virgin hair and Indian virgin hair?
A: The differences are more apparent in the hair's reaction to water, heat or air drying. For longer lasting curls on any of the hair, it is recommend to roller set hair with a hair setting lotion.
Brazilian Hair is silkier and shinier in texture than Indian Hair. The Straight textures are not bone straight but tends to curly beautifully at the end. This hair holds curls very well and tends to hold curls longer than Indian Hair.
Peruvian Hair is a little coarser and thicker in texture than Indian and Brazilian hair. It blends well with normal African-American relaxed hair textures and medium Caucasian hair textures.The curly texture becomes more curly when wet or washed.
Malaysian Hair - Malaysian hair at first can appear excessively shiny but after the first 2-3 washes the shine lessens considerably to take on a more natural appearance. Curls will not loosen or drop with time but maintain their form for the entire day. No product isrequired to maintain the curl. Malaysian hair is also softer and silkier in texture than Indian hair.
Indian hair tends to dry into a beautiful wave which ranges from a slight wave to very wavy, although it straightens and curls very easily
Q: Can they be straightened, curled?
A:Treat the hair as if it is your own. Use a flat iron/straighter or tongs even when fitted, but as with your own hair, never use hot tools too often as you could dry the hair and it will not last as long.
Q: Can I dye color the hair?
A: Yes. usually, that can be dyed below into #27 brown color. As a general rule, it is easier to darken the hair than to lighter the hair. We highly recommend having your hairdresser dye the extensions as you will get the results you want, coloring them yourself always poses a high risk of not coming out the shade you want. If you can not get to a salon, always use a good quality hair dye and test a small sample first.
About Payment
Q: What types of payment do you accept?
A:: We accept the following payment methods: VISA, MasterCard, Discover, American Express, PayPal, and Quadpay. Interact: You can pay for your order online. Please note that the cardholder must have access to online banking.
Q: Why did my payment fail?
A: Payment failure could mean the following:
1) Incorrect CVV Security Code
2) Insufficient fund on Card
3) Exceeding CC limits